Normally my lab environments are primarily made up of Meraki devices so there is no need for a terminal server. However, I recently started building out a large lab environment in my home lab which was a mix of Meraki and Cisco Firewalls. I needed to be able to get to the console of two firewalls and a management server. While I could easily go into the basement and plugin a USB-Serial adapter into my Macbook and connect to each device individually, it wasn’t exactly convenient. I also needed to make the console for each of these devices available to remote administrators.
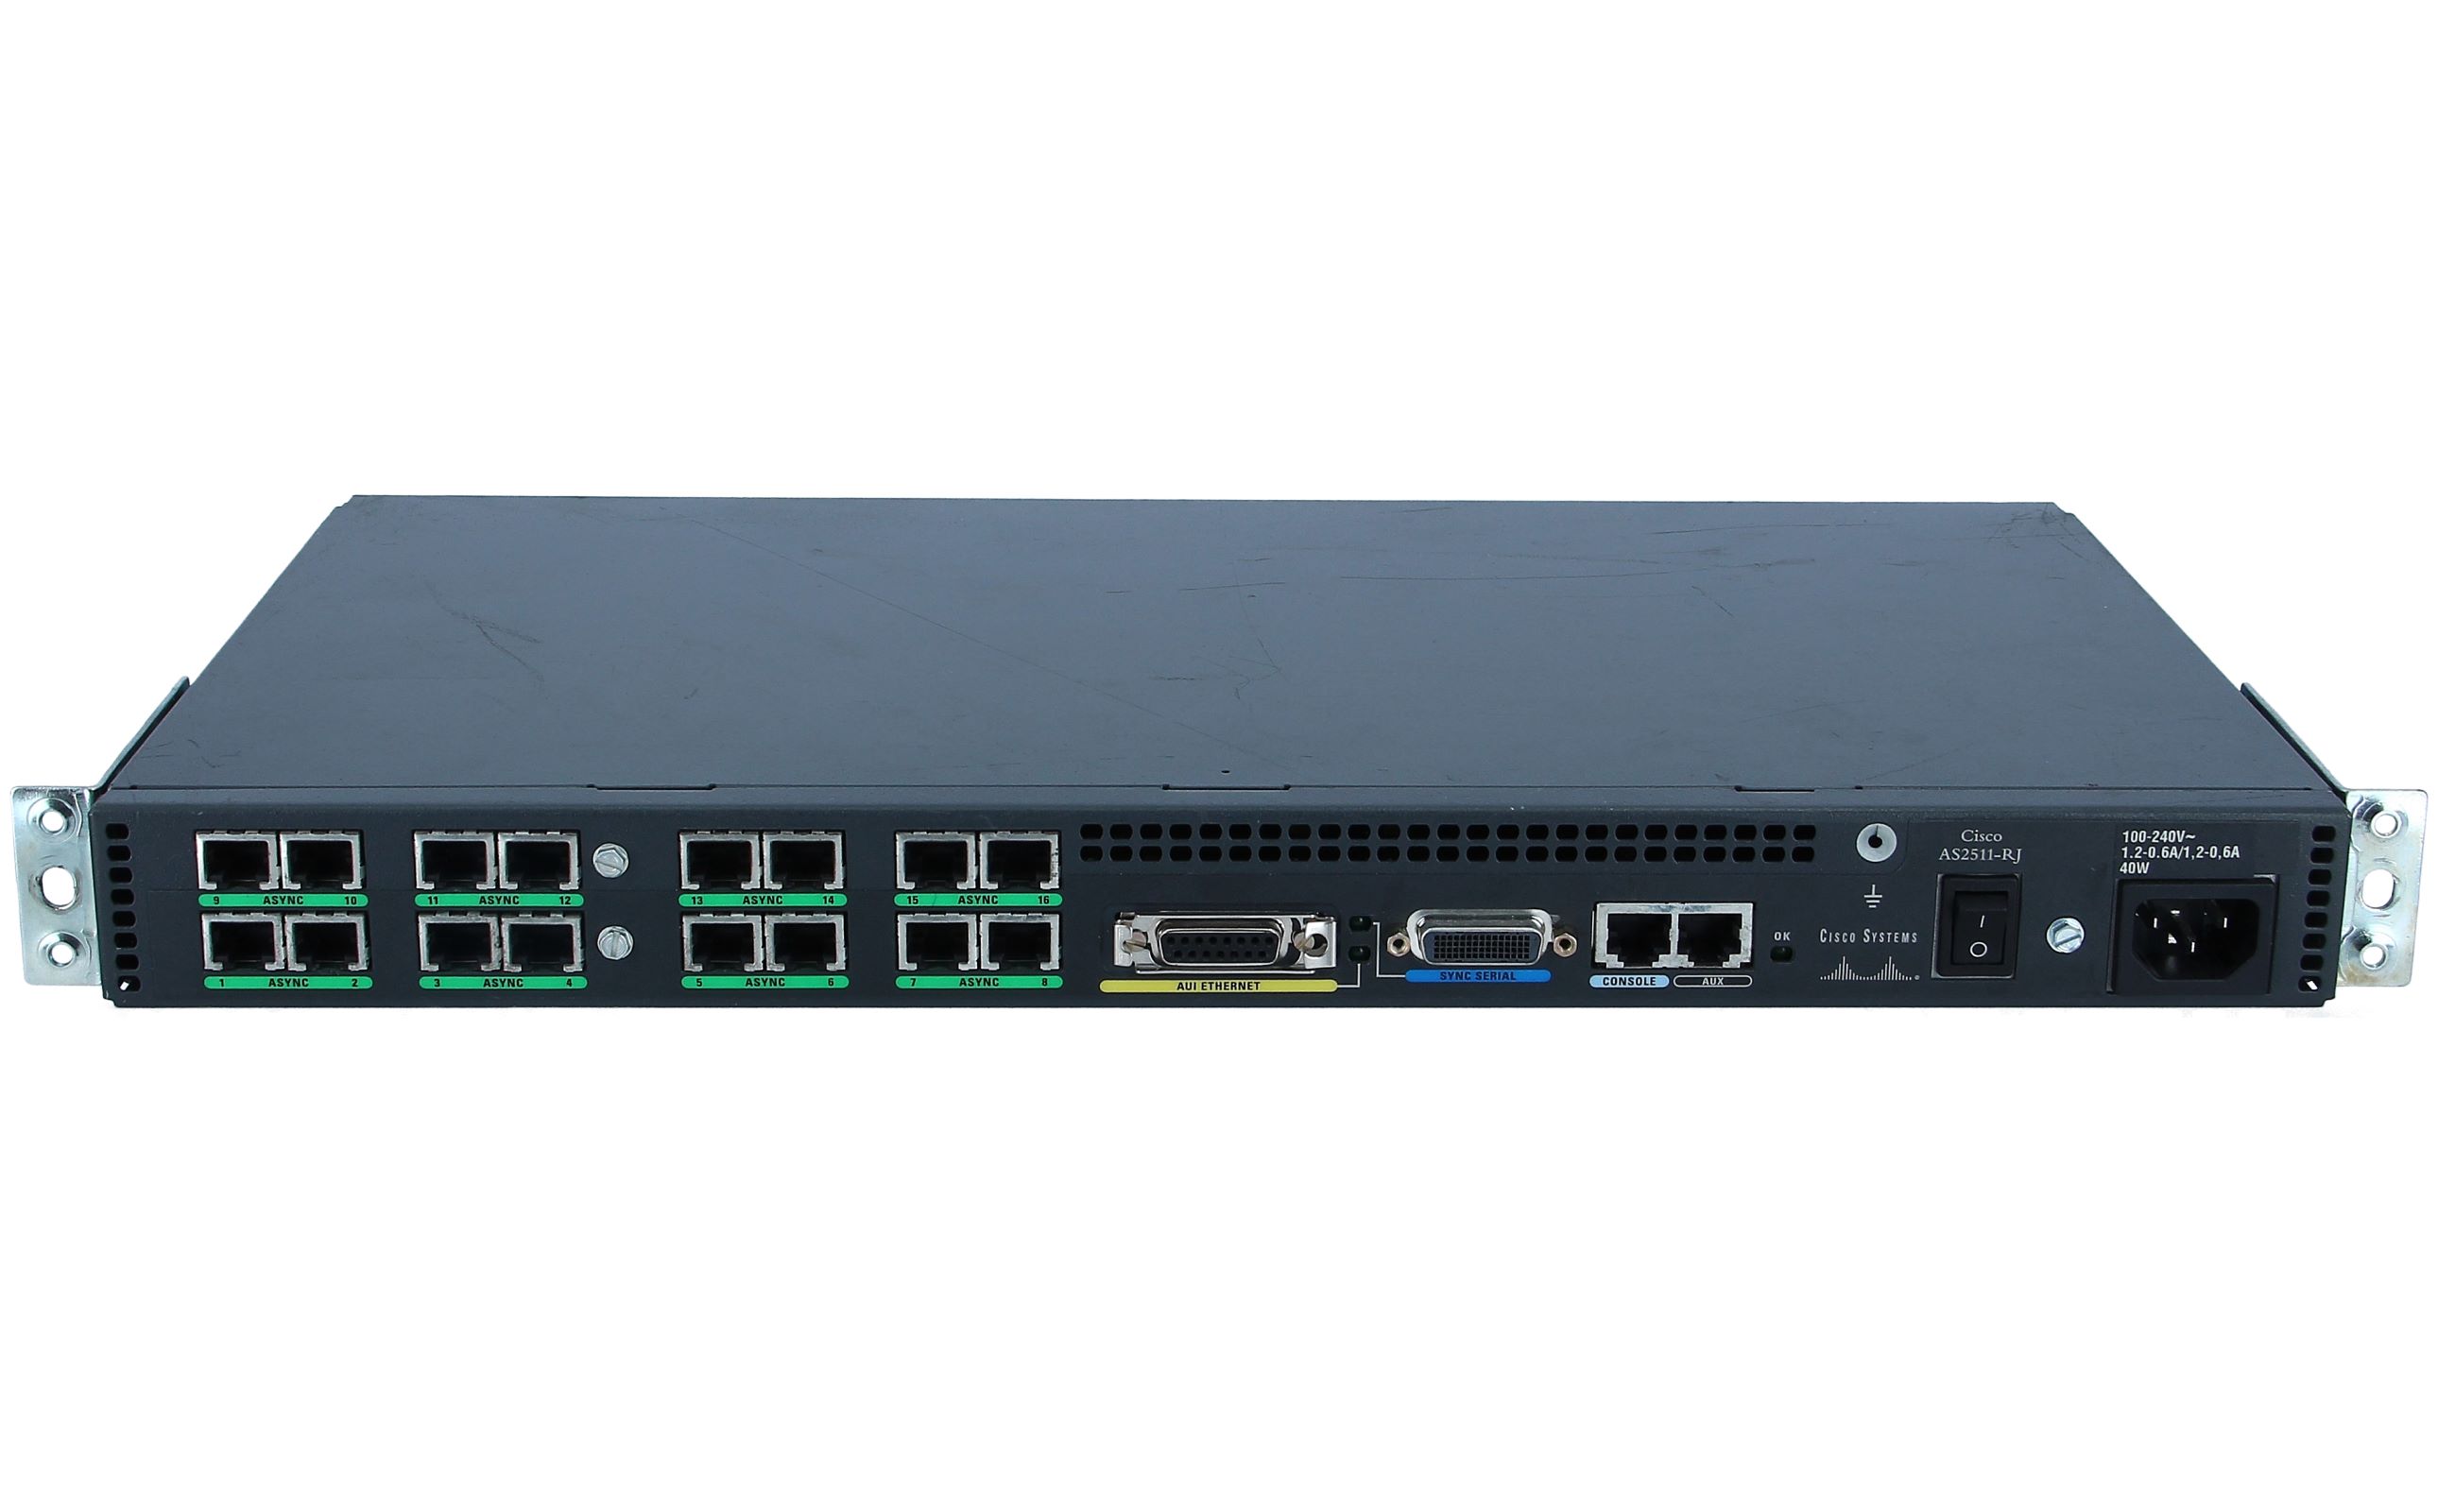
My initial reaction was to hit up Amazon or Ebay to see if I could find a cheap and/or used network attached terminal server. The first thought that came to mind was the Cisco 2511 which had 16 async (serial) ports and an AUI ethernet port.
There are also other brands out there like Digi, Lantronix, Cyclades, Xyplex, Avocent, etc… and they can sometimes be found for a reasonable price. However, I didn’t feel like spending $200+ on something that I really will not use much after this project. I looked around my office and spotted a Raspberry PI 3B + that I had not been using.

I figured there had to be a way to build a terminal server out of a PI. It has ethernet, 4 USB ports, and super easy to get up and running.
My idea then turned into a 24 hour mission to build a Pi-based terminal server with 4 RS232 ports. A quick search on Amazon and I found the second piece of the system. The Gearmo 4 Port USB to Serial RS232 Adapter.

At the time (Jan 2022) it was ~$40. I ordered it with free 1-day prime shipping. My mission was still attainable. I just needed to find a piece of software or way to configure the PI to work with the USB-Serial adapter.
Enter… the interwebz
After a quick search for Raspberry Pi Terminal Server I found Justin’s IT Blog and this article.
It seemed too simple, and it almost was. I ran his article and figured I could test it out right away as I had a single USB-Serial adapter already and it would be easy enough to modify the configuration once the 4-port adapter showed up. So here is what I did.
Step One – Prepare the Pi
Grab a micro-SD card for the Pi and flash the latest version of Raspberry Pi OS or whatever linux-based PI OS you would like to run and install the OS using balenaEtcher. For the purposes of this tutorial I will be using Raspberry Pi OS 10-30-2021. Once the new OS is installed and verified, insert the micro-SD back into the Pi. For the initial configuration I would recommend connecting the PI up to a display, keyboard, mouse, and the network.
Step Two – Update and Configure the Pi
If this is a fresh install this could take some time to update all the packages. For my 3B+ it took about 20 minutes.
sudo apt update
sudo apt upgrade -y
Once the Pi OS has been upgraded we need to install the Serial 2 Network software.
sudo apt install ser2net -y
Step Three – Connect the USB-Serial Adapter
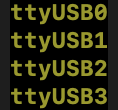
After I connected the Gearmo 4 port USB to Serial Adapter to one of the USB ports on the Pi I verified that it was recognized by the OS and that the devices were ready.

Step Four – Configuration
The ser2net program will run as a daemon so there is no need to manually start it. You can check to see if it is running by checking for the running process.

A default configuration file is installed and is located at: /etc/ser2net.yaml
Included is a basic configuration. A more complete example is located here…
/usr/share/doc/ser2net/examples/ser2net.yaml
Based on the examples and my need for 3 USB-Serial connections, my ser2net.yaml file currently looks like this…

Step Five – Test
In my initial testing using telnet I was seeing some double carriage returns and other keystroke issues. I went back to the documentation and added telnet(rfc2217) to the accepter definition. This seemed to resolve the issues I was seeing earlier. The end result is I can telnet into any of the serial console connections that are setup as long as I have network access to the Pi. Pretty cool.

Conclusion
This was a fun little exercise that allowed me to repurpose a Raspberry Pi that wasn’t being used and is also allowing both myself as well as remote administrators console access to the equipment in my lab.