In Part 2 we will walk through making sure that we have configured EAP-TTLS support and we will configure the username and password used in the MV Camera configuration that we did in Part 1. The below screenshots and instructions were based on Cisco ISE 2.6.
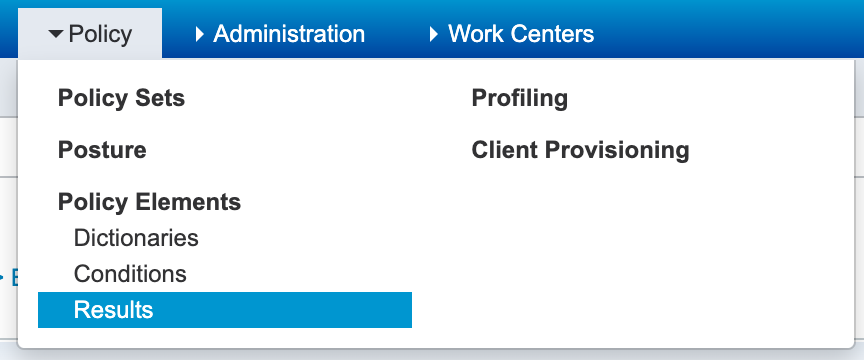
To keep things simple I am going to edit the Default Network Access Service.
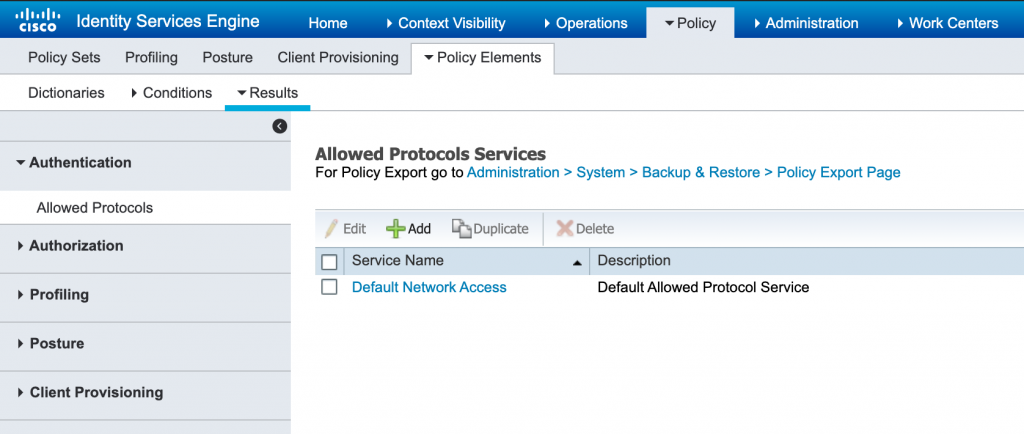
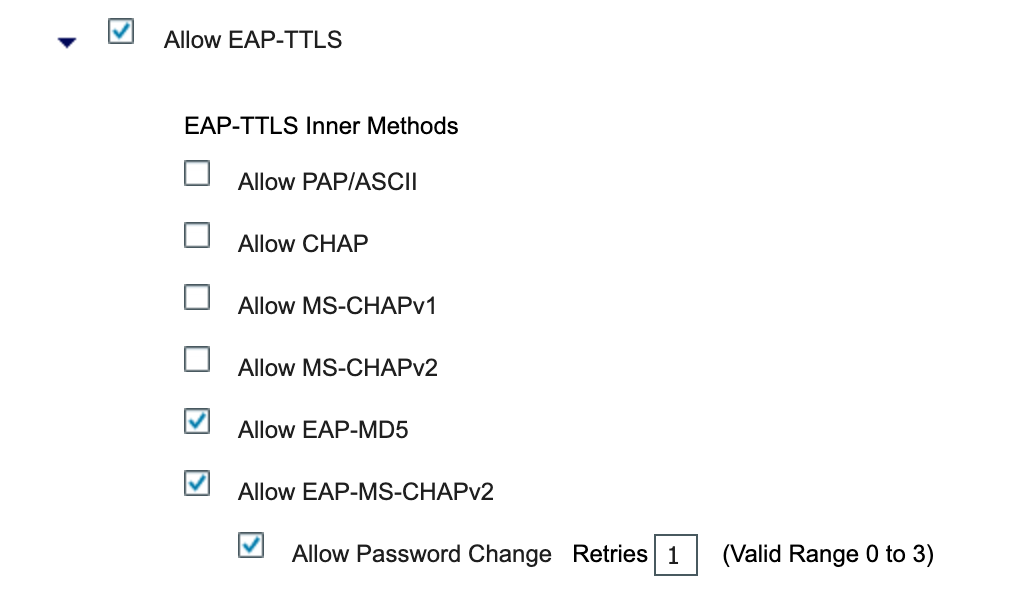
Check the box next to Default Network Access and click Edit. Then scroll down to the section and make sure that Allow EAP-TTLS is checked. Then check the Inner Methods that you would like to allow. Once you have done this click Save.
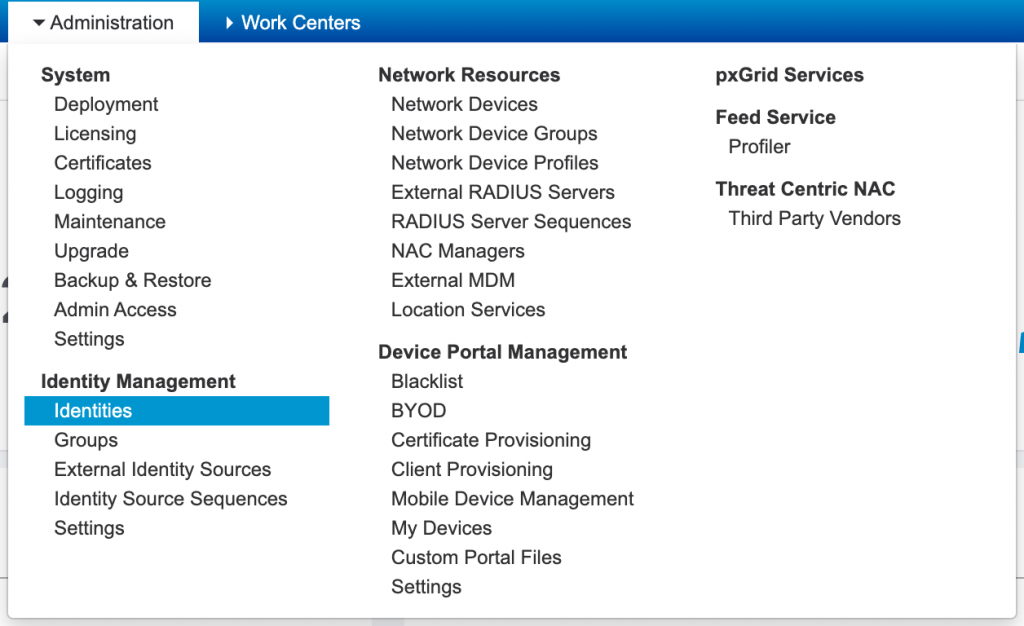
Now let’s create the user that we used on the camera. You could create a user in an External Identity store like Microsoft Active Directory but for simplicity, I am going to create an internal user within ISE. First, let’s navigate to Administration -> Identities
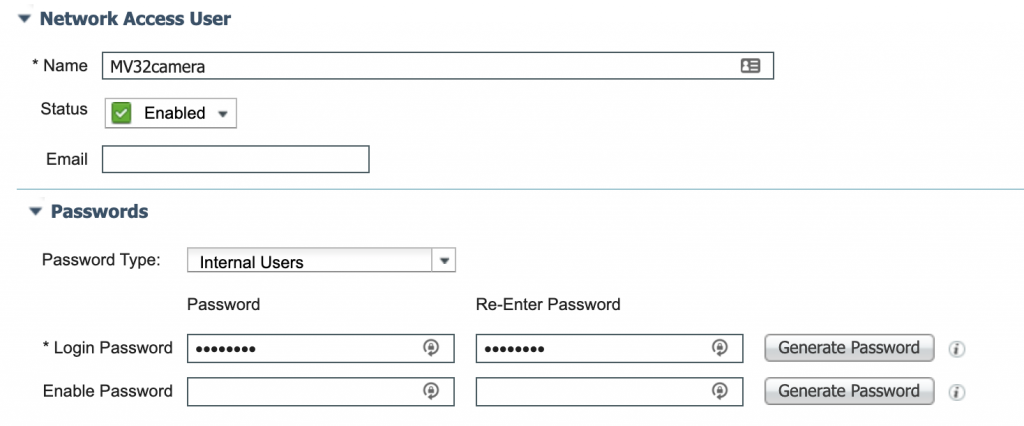
Now we need to create our camera user. Back in Part 1 we used the username: MV32camera. After setting a password click Save.
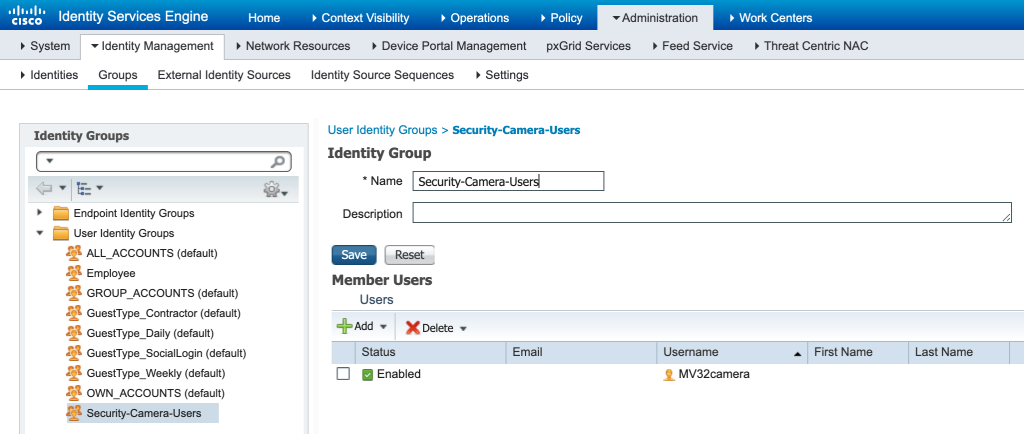
I then created a new Identity Group for my Security-Camera-Users and added the MV32camera user to that group. I did this so in the future I could create a user for each of my lab cameras. After you have added your username(s) click Save.
Now it is time to modify the Authentication and Authorization policies to allow for the MV Cameras. First let’s set up the Authentication Policy. The following screenshots make up one line in the Authentication Policy but I broke them in two for easier reading.

Second, let’s set up the Authorization Policy. Again I have broken this into multiple screenshots for easier reading.


Now it’s time for testing and verification. First, I unplugged my MV32 camera from its POE connection to my network and plugged it into a POE Injector so that I can provide it power only. Once it boots up and detects there is no active Ethernet connection it will revert to Wifi. Once it has connected the blue light on the MV32 will be solid. You can then go to Dashboard and verify that the camera is up and that you are able to view a live video feed.
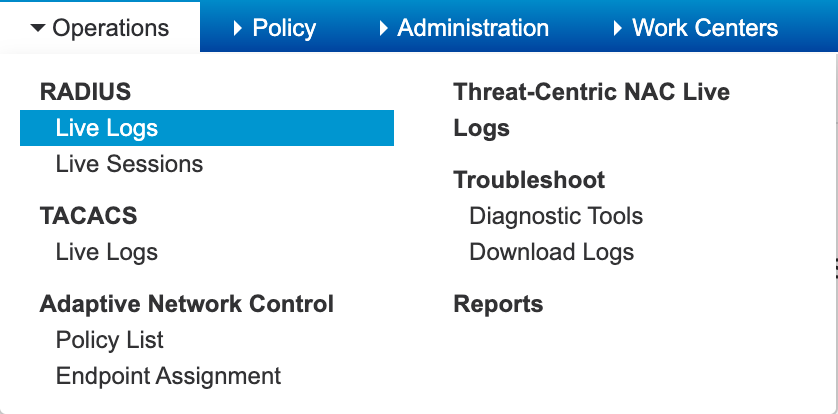
Next, let’s check the logs in ISE. Go to Operations -> Live Logs
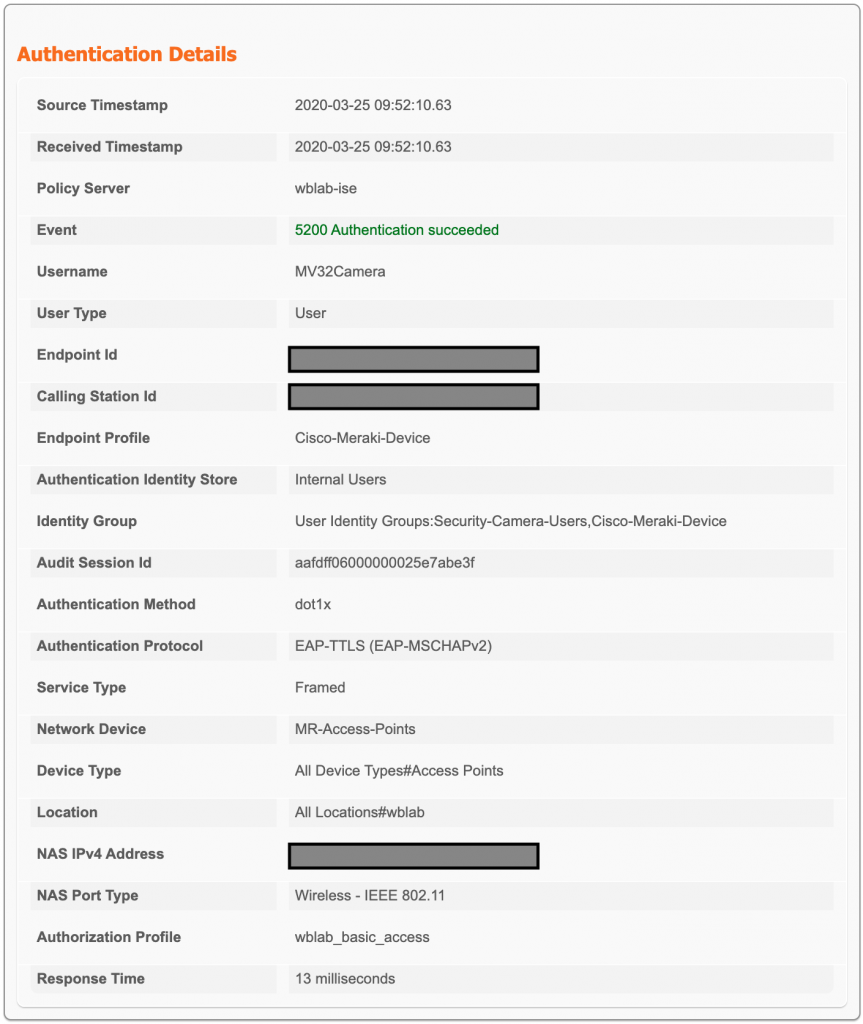
In the Live Logs we see a successful connection and then when we dig into the Authentication detail report we see the following…
A lot of the information used to put this post together came from my general knowledge of ISE and also this great post on setting up EAP-TTLS on ISE for Cisco IP Cameras.